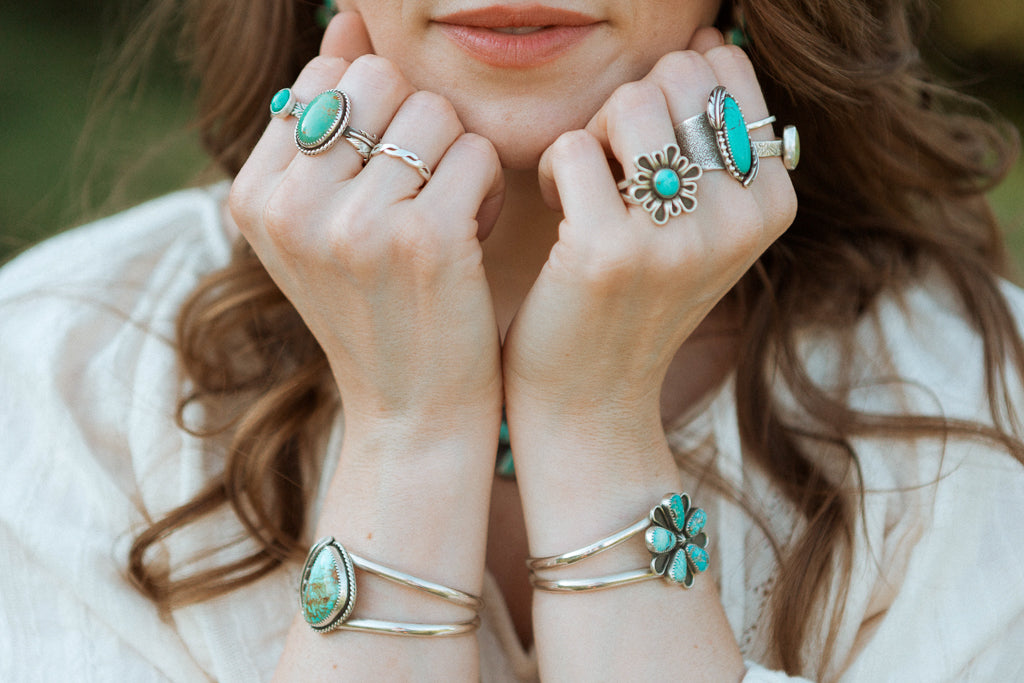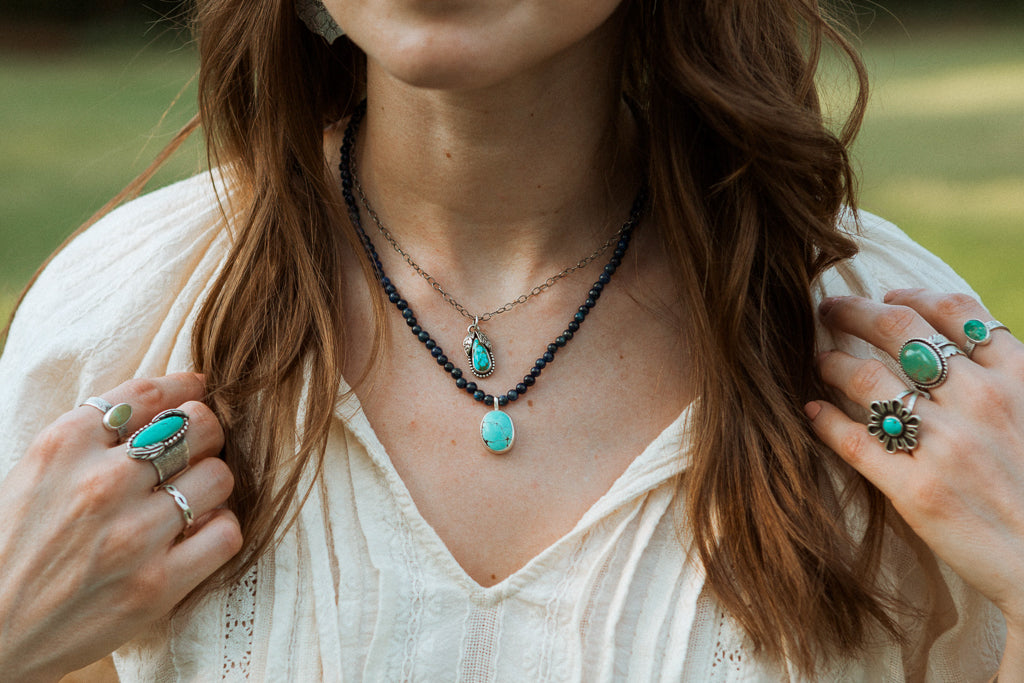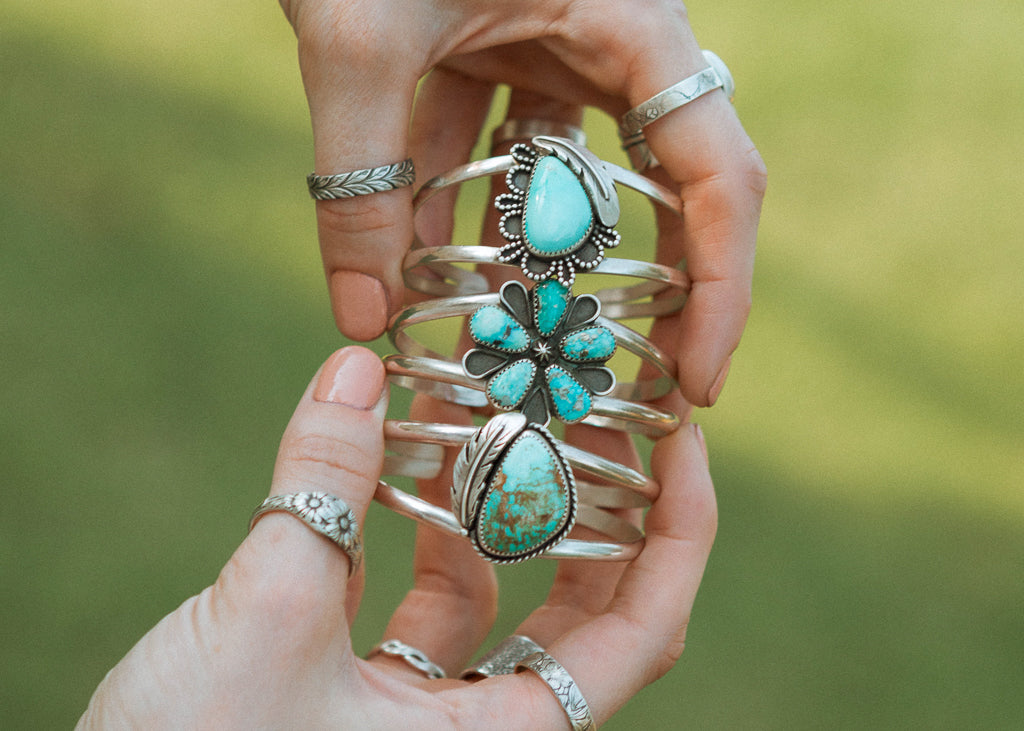
Hair Pin Tutorial
When I first stumbled upon hair pins I was absolutely obsessed but quickly became discouraged when many failed attempts left me feeling like I just didn't have the right hair type to pull this look off. I scoured the internet to try and find tutorials with very little luck. After hours of searching I found a few good tips here and there and with a little practice putting all those tips together I've got it down!
I've also taken the time to perfect my design to work with any hair type so you can enjoy this easy hairstyle any day, any occasion. You can throw your hair up while out running errands, doing house work or you can incorporate into your bridal look for one of the most important days of your life. It works flawlessly into any style.
Check out this video of my process and let me know if you have any questions or extra tips!
Step 1:
Start with natural or beachy waves to help add a little texture and grip. Then pull your hair up into a ponytail or half updo. I typically pull it up to sit just under the crown of my head. Don't worry about pulling it up tight or tidy, this style looks better a tiny bit messy, leaving a few pieces out to frame your face pulls the look all together.
Step 2:
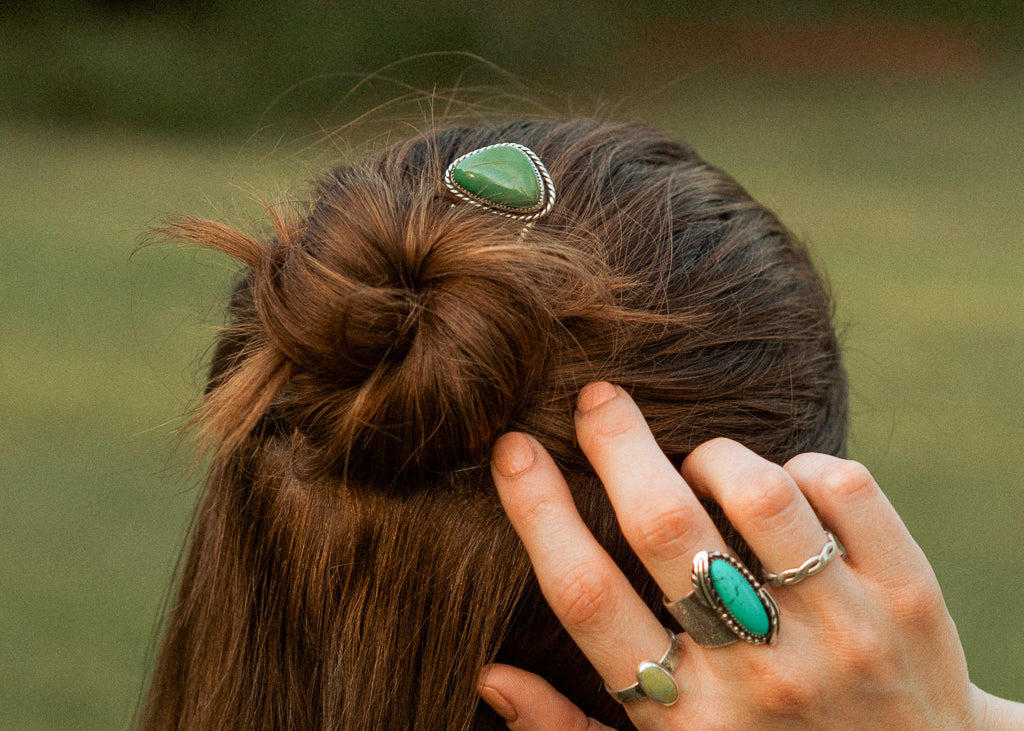
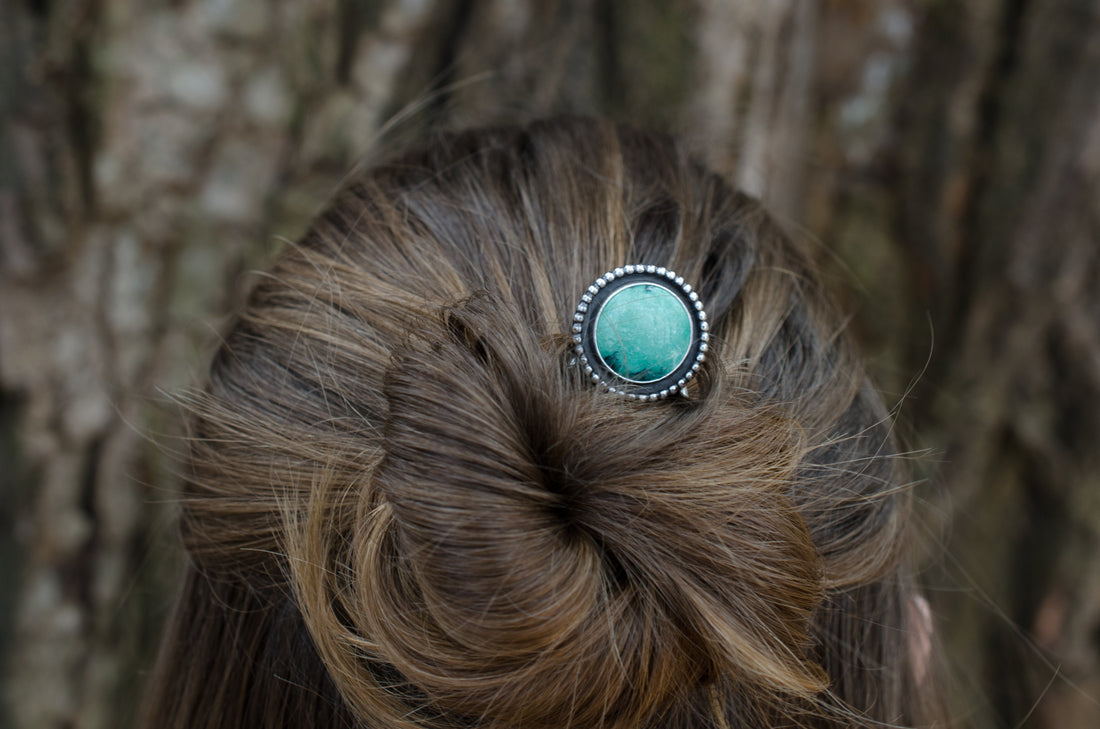
Twist your hair into a loose bun and tuck the ends underneath.
Step 3:
Grab your hair pin and flip it upside-down with the stone or front of the pin facing your skull. Insert the prong ends into your hair catching a small section of the bun before flipping the pin right side up to gain a little leverage. Push it the rest of the way through the bun and you're done!
Bonus tip: Sometimes I even like to wiggle the hair pin back and forth as I push it through to ensure all day hold.

